Wow, I’ve just had a look through the archives and it’s been over 6 months since I posted an update on the Datsun, and over 12 months since the last real modification! See what having a mortgage does to you? Sad times indeed! Yesterday I made a post on the Build Threads Facebook page about the car, and it made me realise I was well overdue to put together an update. Well, a few things have been happened in the past few months, so let’s start from the top.
Earlier in the year I started to notice some veering issues in the steering. The car would pull to the right under acceleration, and then pull back to the left on deceleration. It was only subtle but far from confidence inspiring, especially at higher speeds, and it was always in the back of my head, preventing me from enjoying a good drive. Naturally, I started to search around the car for answers…

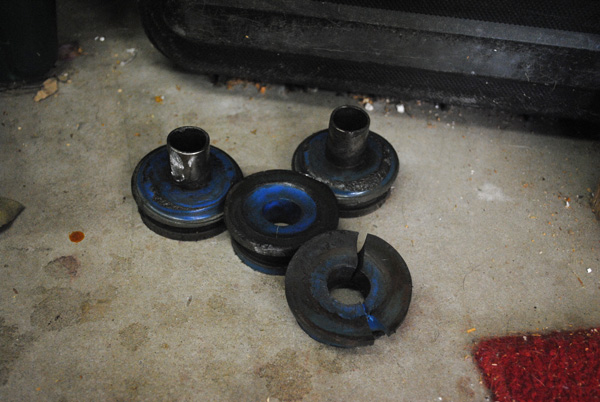
Poking my head underneath the front-end, the first thing I noticed was a split caster arm bush (and dirty chassis-rails, arrghh!), so that was the first thing to be rectified.
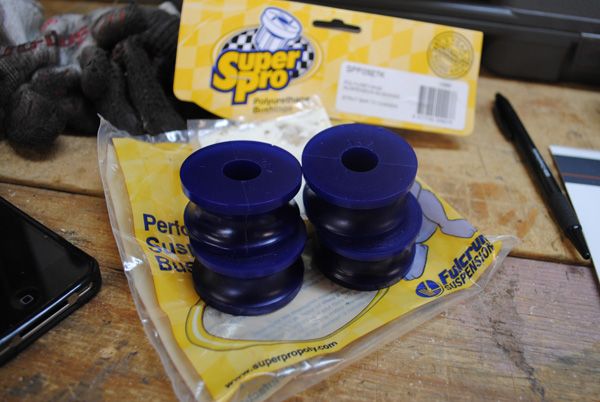
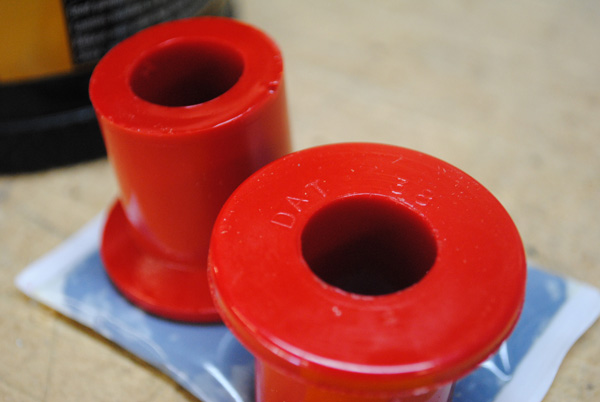
New bushes, noticeable lack of splits.
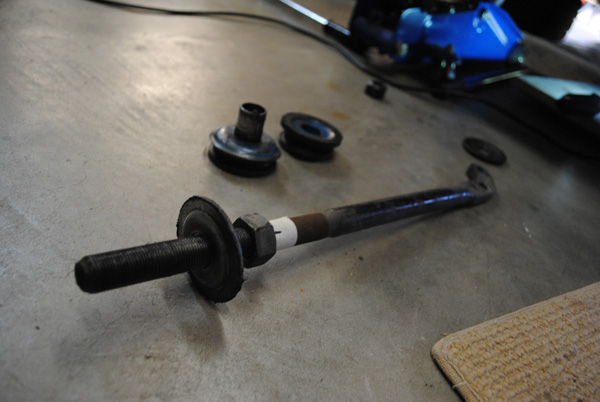
Caster arm removed. I wrapped some tape around the thread to remind me where the rear adjustment nut was placed, in an attempt to maintain the alignment somewhat.
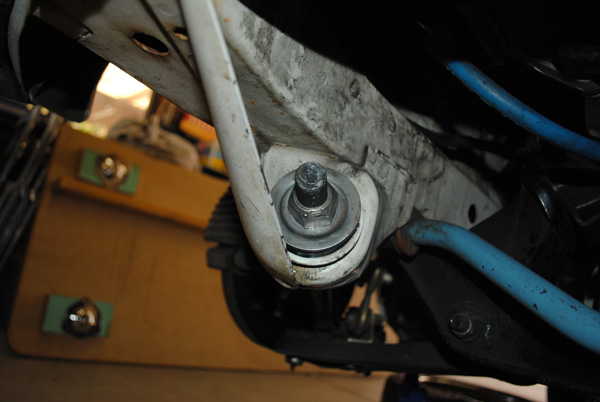
Greased up and reinstalled. Yes I cleaned the rails afterwards.
While the front end was up in the air, I wanted to attend to another issue that could have been affecting the behaviour of the car, a slightly loose wheel bearing.
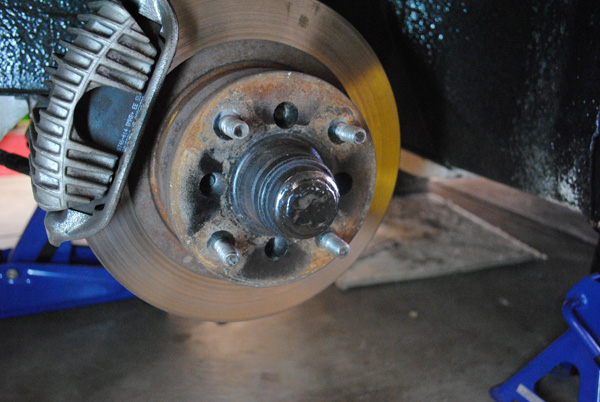
First step is to admire your ugly rotors and slot a flat-head screwdriver between the dust cap, then pry it off.
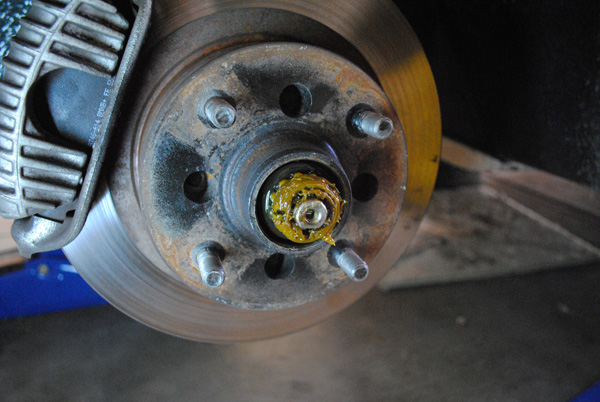
Move some grease out of the way and you’ll find a split-pin holding a bottle-cap looking device in place, remove them both.
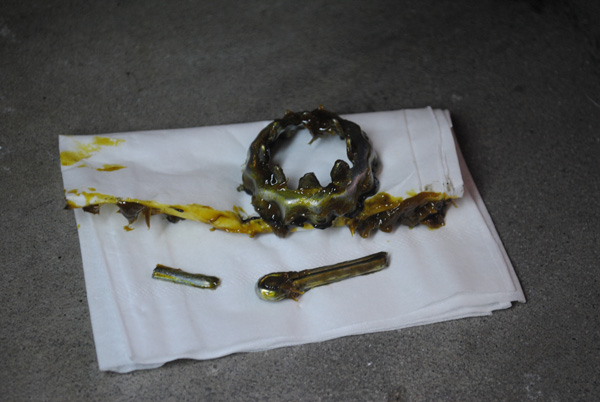
It always pays to have new split-pins on hand for reassembly, as they tend to break when you bend them back to remove them.
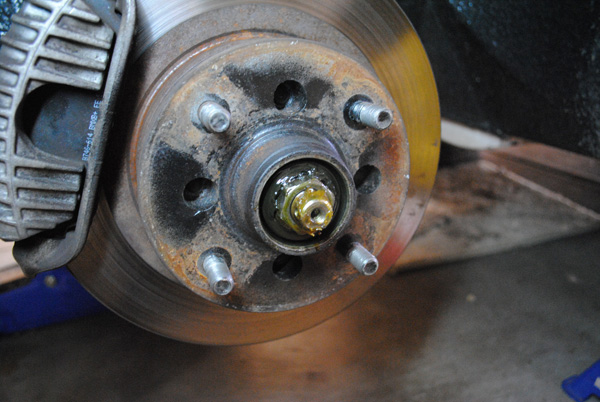
The nut is now accessible and ready for some tightening.
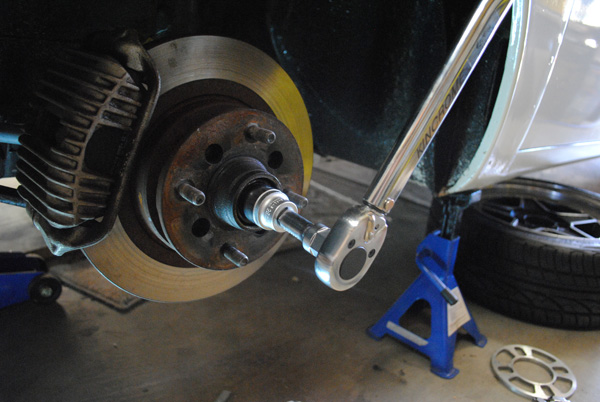
Always use a torque wrench and consult your cars workshop manual for tightening specs, or ask on a model-specific forum.
Did this fix my veering issues? Well, no, it didn’t, but upon taking the car for a test drive, a new problem kindly reared it’s head. The steering was now failing to re-center itself after turning a corner, I’d have to manually bring the steering wheel back to the middle position. Being an older car with a steering box, it never had the same amount of re-centering a rack & pinion equipped car, but now it wasn’t doing it at all. Asking for advice on forums, most fingers pointed to one of two suspects; either my idler arm bushes were shot, or my steering box was ready for the bin. The natural way to attack this was to try the cheapest fix first, the idler arm bushes.
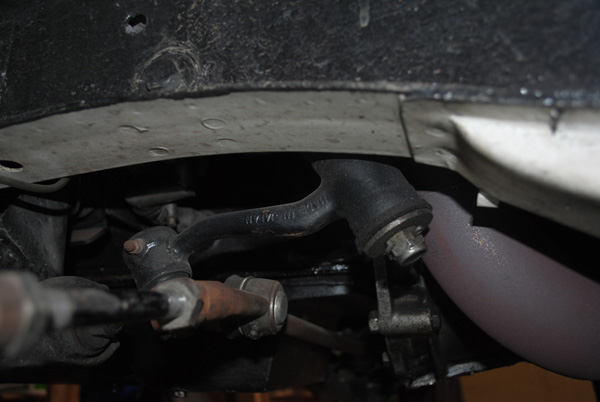
Idler arm. If the bushes were old rubber items, there’s a good chance they’re due for replacement.
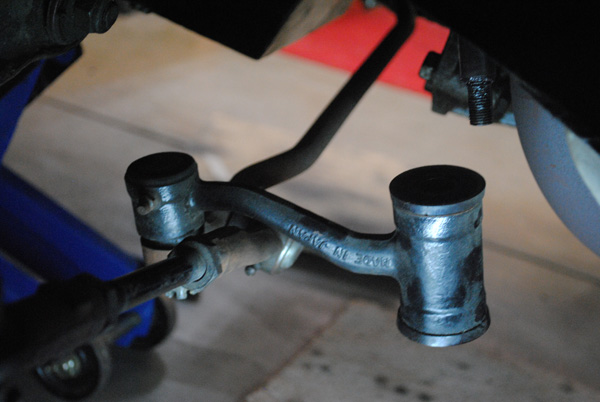
Idler arm unbolted and pushed down, revealing the bushes. They ended up already being poly items and in good condition, so the chances of them being the cause of the problem were instantly reduced. This is where I hit a speedbump; no matter how hard I tried I just couldn’t get the damn things out, so I swallowed my pride, buttoned the car back up and carefully drove it down to my mechanic/tuner to complete the job. This ended up being a necessary move, as the new bushes didn’t make any difference and it was indeed my steering box that needed replacement. A refurbished item was sourced from the always helpful Datsport and installed by people with more skills than me.
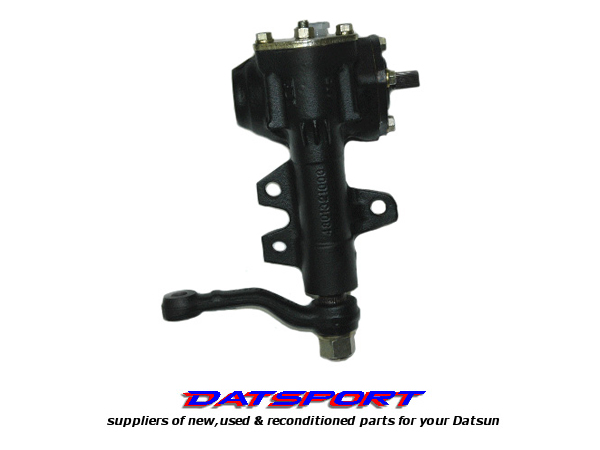
The new steering box indeed rectified the re-centering, but my earlier veering issue was still apparent, definitely a bittersweet moment.
While I kept thinking of different reasons for the veering issue, (CV’s, bad alignment, diff, dud rear coilover?) I decided to pull apart my new pair of rims in preparation for their refurbishment.
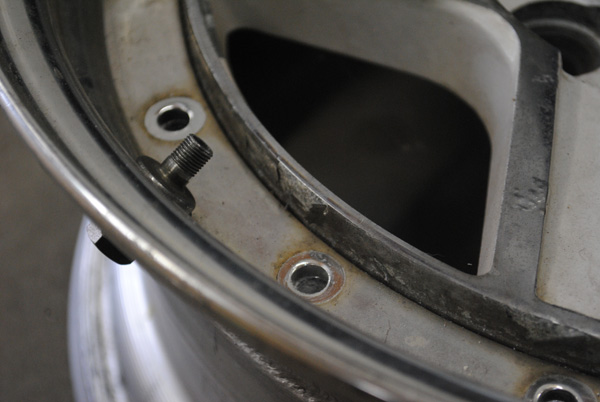
I’d never disassembled a set of wheels, so I removed the bolts to make cleaning/polishing the face of the lips easier.
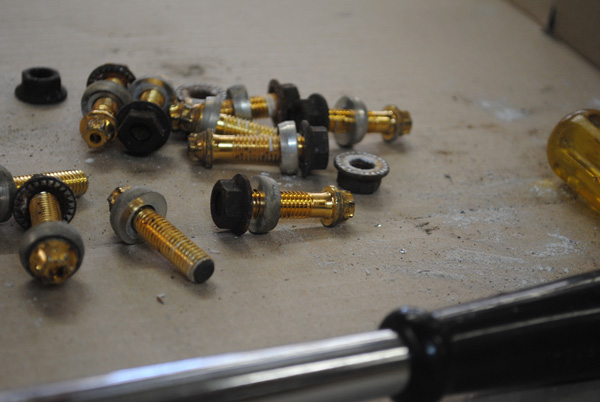
Thankfully, none of them snapped off. The threads are in great condition and still retain their shine, it’s just the heads that have deteriorated.
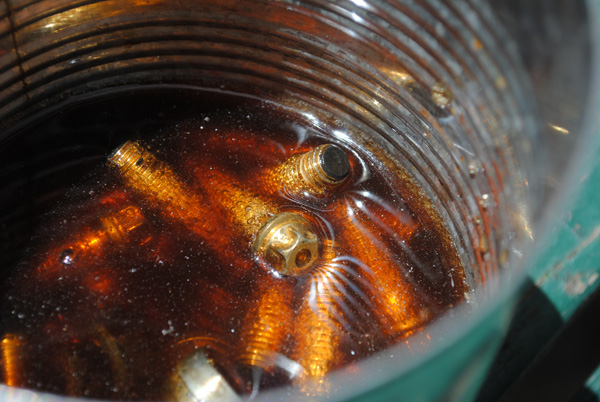
I threw them all in a tin of Coke, partially because I’ve heard it’s a good way to remove dirt, but mainly because I was bored.
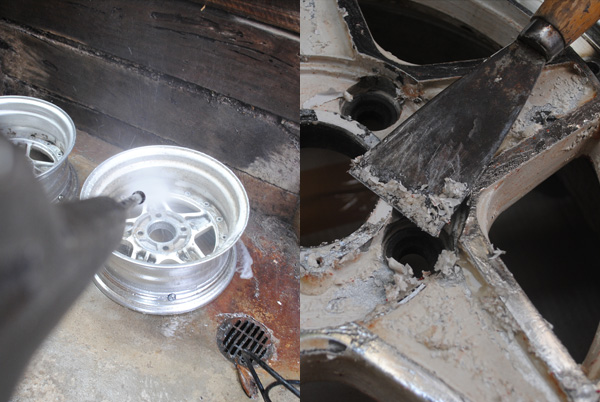
A quick high-pressure wash and a scrape with some paint stripper didn’t net the results I was after. The white paint was really caked on, and the chrome plating was hard to remove. A stark contrast to the way my current wheels responded to a similar treatment.
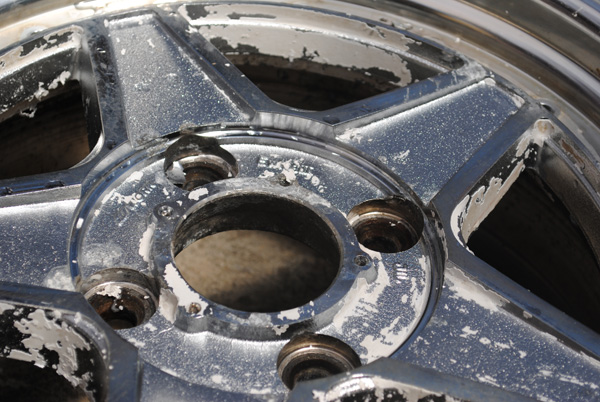
They needed something harsher than my store-bought paint stripper, so after these pics were taken I palmed them off to a friend who let them soak in an acid bath for a while. Sadly, that still didn’t do the trick, but I haven’t bothered touching them since then, because a quick measure made me realise they’re 6.5″ wide, not the 7″ that they were advertised on Yahoo.jp as being, the risk you take when buying without being able to physically inspect. This means they’re exactly the same as my current front wheels, so I’ve shelved them for now and might use one as a full-size spare and the other as a hose reel in the future, we’ll see.
So to re-cap what’s happened so far, I’ve fixed a split caster arm bush, tightened a wheel bearing, replaced idler arm bushes, replaced a busted steering box, failed to chemically strip a pair of wheels that didn’t end up being the sizes I thought they were, and took way too many pictures in the process. Now, even though I love doing any form of mechanical work because it gets me out of the office, the above mentioned activities didn’t really have me standing back and saying “yeah, I just did work, son!” What I needed was a modification, and I needed it now.
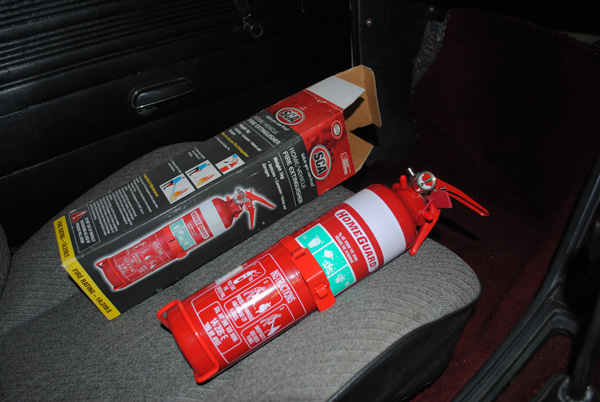
I’ve had this fire extinguisher in the car for a while, but I’ve always left it in the packaging just behind the drivers seat, not very handy in an emergency. There are a few choice places for an extinguisher that I’ve seen before, mainly just forward of the passenger seat, or in the passenger footwell, but I had something different in mind.
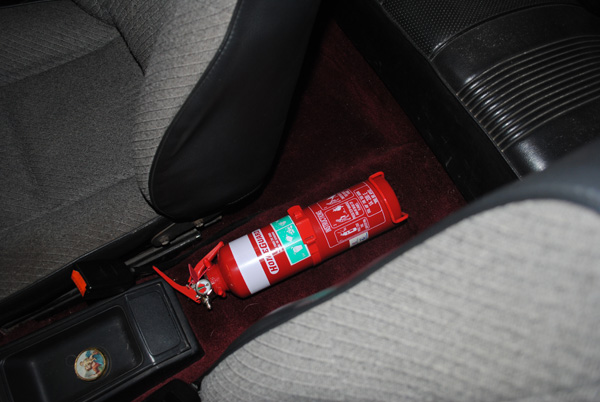
I always thought a good spot would be between the seats on the transmission tunnel, nice and easy to access in a hurry, so I did a quick mock-up to see how it would look. Being a weekender (barely!), I don’t really have to worry about practicality, as I don’t ever have a passenger sitting in the middle of the rear seat. Plus it looks cool, ha!

The bracket is fastened down at two points.

And the unit clips in tightly. Now as stupid as this may sound to those reading who have the skills to complete much more technically difficult jobs than myself, the simple above mod had me grinning like an idiot. It only took about 10minutes and two screws, but the simple fact that I could stand back and see something on the car that wasn’t there before I started, well I just felt satisfied. I think, at its core, that’s what modding is all about.
While the modding bug still had a hold on me, I decided to tackle something that had been missing from the car since I bought it:Â tunes. I know a lot of car guys say there’s nothing better than the music of your engine at full-song, and I believe that’s true, but I also believe it’s nice when you have the choice! Sometimes I like to put some beats on, drop the revs down, slot the gearbox into 5th, and just cruise along at a leisurely pace.
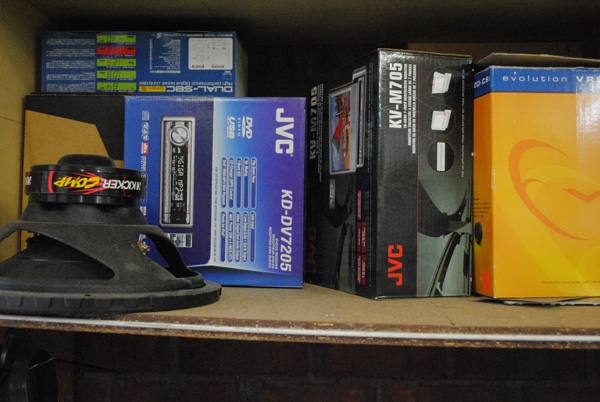
Que the audio shelf of the garage, boxes of left over parts I’ve accumulated over the years. Before I sold my S15, I removed the mp3/dvd/usb head unit + 7″ fold-out monitor, and they’ve been sitting on the shelf ever since. I decided to pull the head unit out of retirement, but the monitor can stay where it is, as I have no need for it in this car (it’s for sale if any local readers want it).
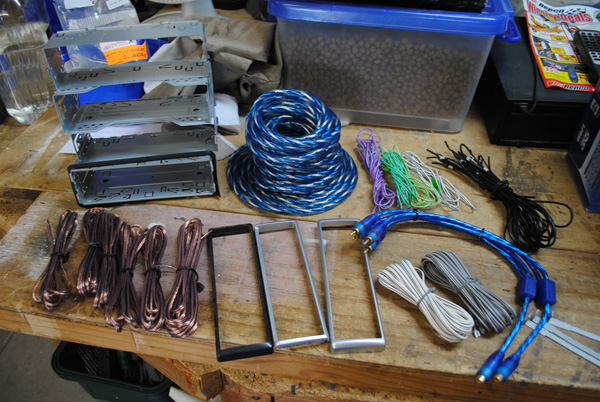
Sometimes you forget how much crap you have.
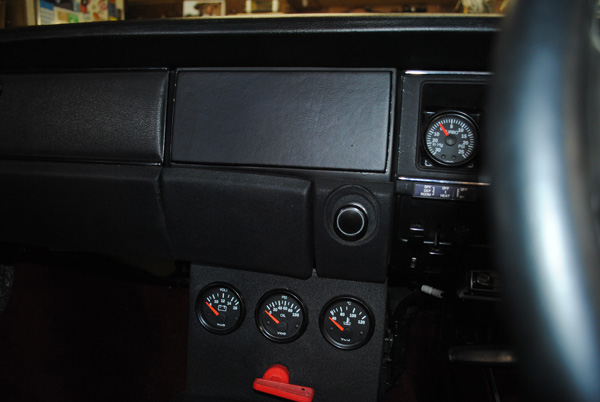
I chose the factory location to be the new home for the head-unit. I know a lot of people will cringe at the thought of a modern head unit in a classic car, but I went for function over form on this one. Honestly, it’s not that bad, doesn’t stand out too much, and it’s easily accessible. The previous owner had stuck a thin piece of wood neatly over the hole, covered in black vinyl to blend in with the rest of the dash.
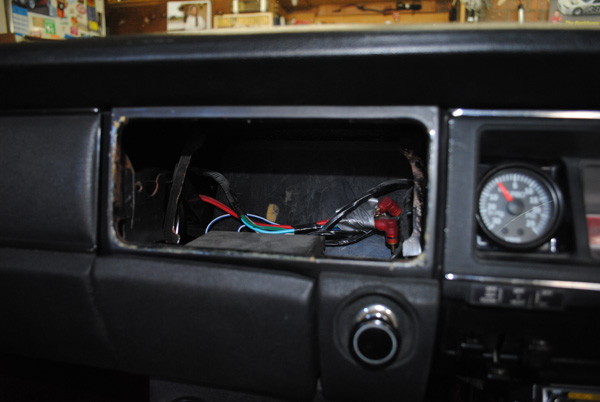
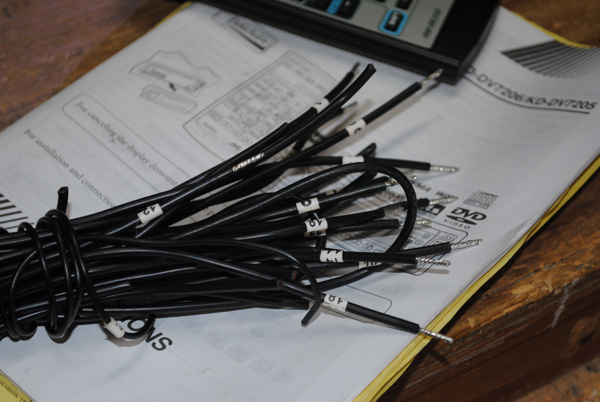
After prying it off, I found some stereo wiring waiting for me. Honestly, I can never sing the praises of the previous owner enough, I’ve been very lucky with this car, no nasty surprises and all the work carried out was done so to a high standard. Needless to say, wiring up the unit was going to be a breeze.
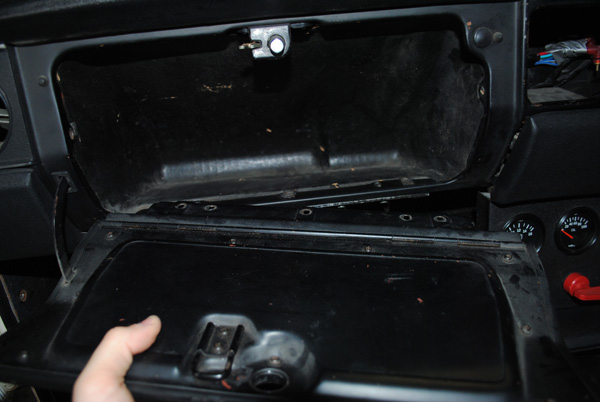
To give myself more room and accessibility, I removed the glove box lid and inner structure.

Working on old cars can be extremely easy at times. This is all that holds the glove box together, no hidden clips to play hide-and-seek with, no plastic to snap off, just a few easy to reach screws.
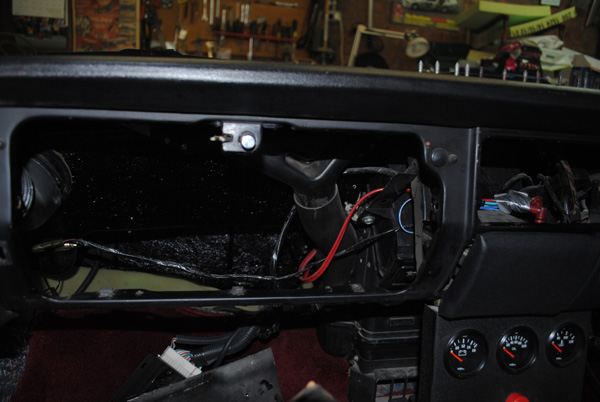
I was pleased to see how clean everything was back there.
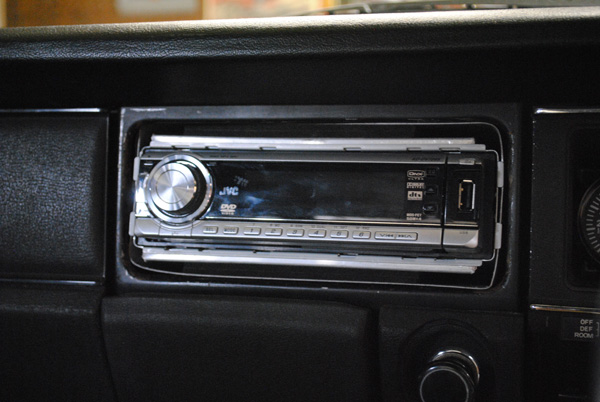
I was pretty stumped with trying to make something to house the unit, I thought if I stared at it long enough it would magically fit itself. Luckily my dad was hanging around, and he whipped up an aluminium housing that we slotted (jammed) into the dash, which then housed one of the factory cages I had lying around, and the unit then locked into the cage.
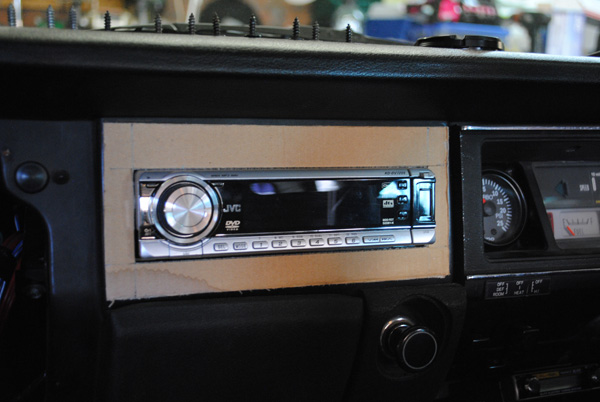
To pretty it up, I first created a cardboard template…

…and then transferred the size of the opening onto the original wooden piece, and trimmed it in some black leather we had lying around.
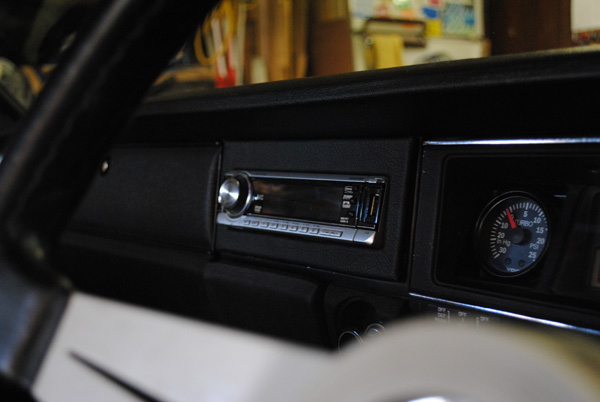
But I wasn’t happy with the result, it looked way too out of place, and the surround looked puffy.
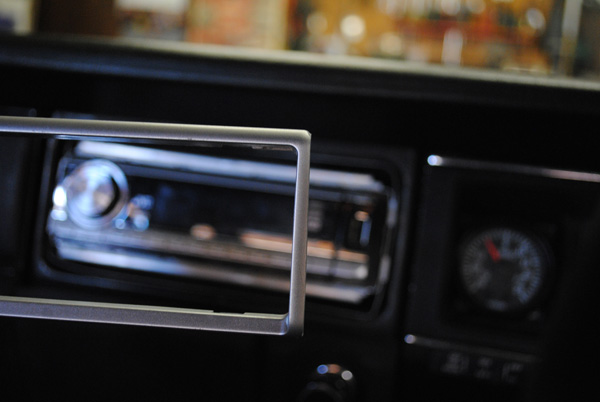
Firstly, it needed the plastic surround that goes around the unit, this would frame it and provide a visual step between itself and the dashboard. Secondly, the thick leather had to be replaced with thinner vinyl.
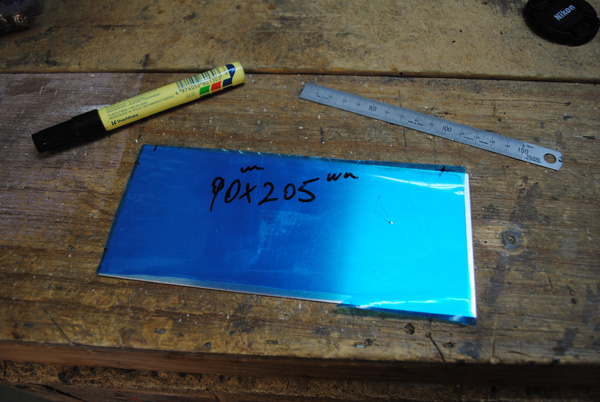
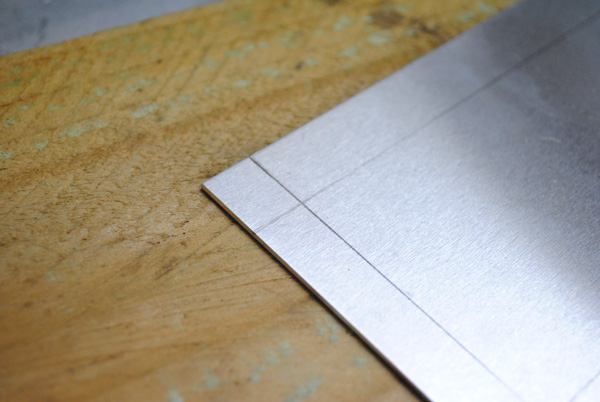
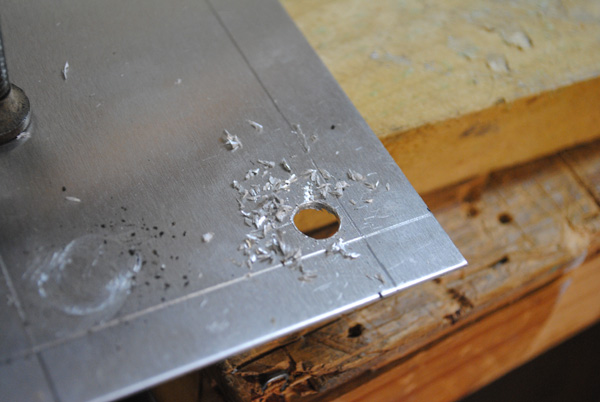
Since the original wooden piece was already losing it’s structural integrity, my dad got me a piece of aluminium cut to the exact size I needed at a friends factory.
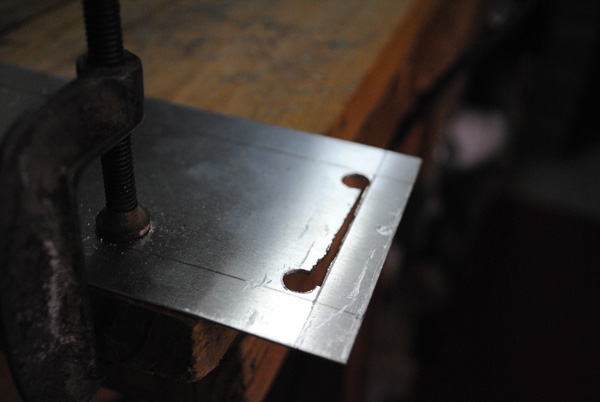
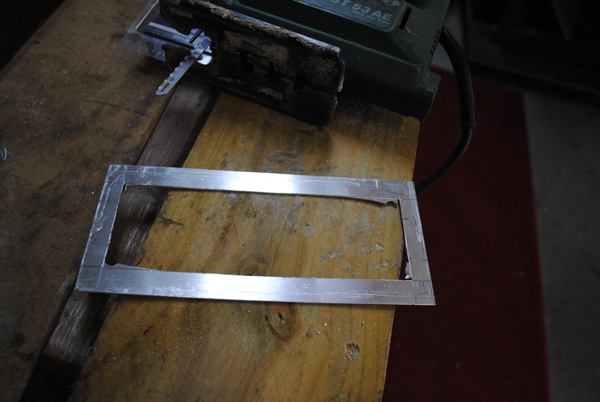
Join the holes with a jigsaw until…
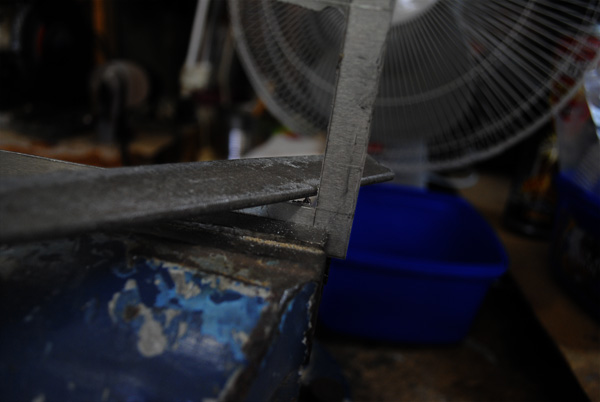
Clean up the edges with a file. Aluminium is so soft, very easy to work with.
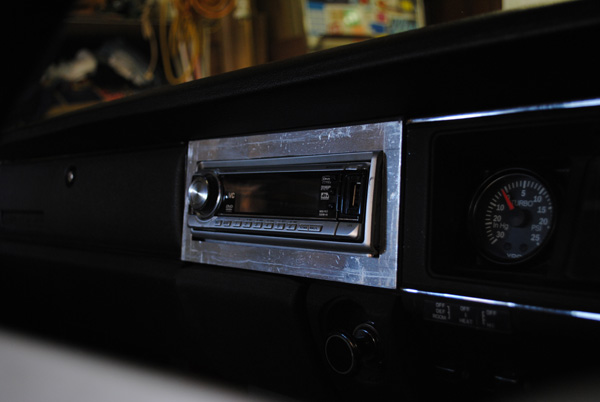
A quick test-fit ensured the trim piece now fit.

I’ve mentioned my dad a couple of times in this piece, he is actually an upholsterer by trade, so we have plenty of material lying around. I grabbed a roll of black vinyl…
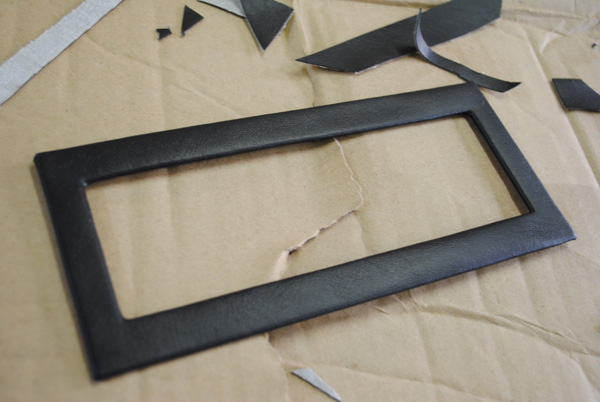
..and trimmed up the new piece and stuck it down with spray adhesive.
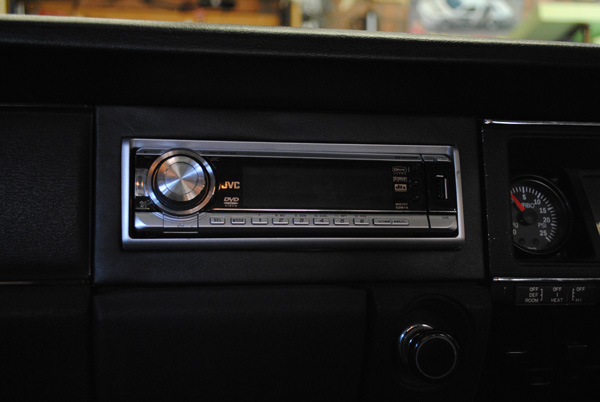
Much better than before. If I had to do it again, I’d put some phone books or something else with a bit of weight on top of the piece while the glue dries to the vinyl, as it has lifted in a few spots.

What good is a head unit without speakers? I thought long and hard about what kind of speakers to fit, and where to fit them. In all my cars, I’ve always preferred a good set of front speakers, and never really bothered to pay much attention to those in the back of the car. However, with this car, there isn’t any provision for front speakers. I didn’t want to go cutting up the door trims, and I don’t really like the look of custom kick panels, so the only option I had was to fit some speakers in the rear parcel shelf. First up was removing the rear seats.

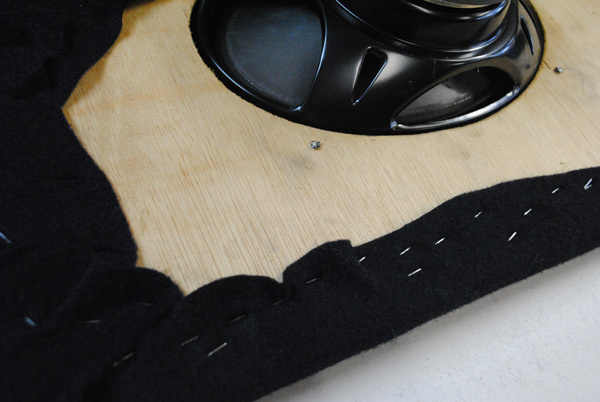
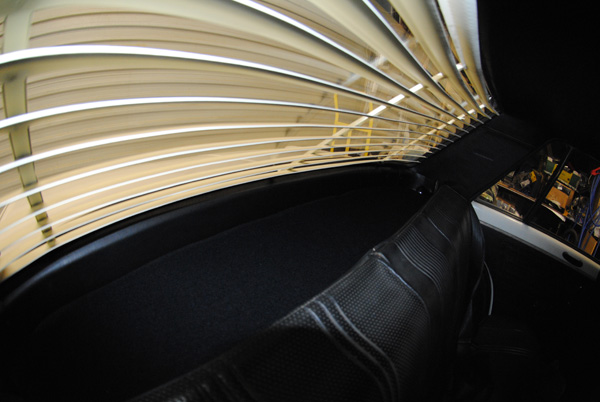
I wanted the speakers to be hidden, which ended up being done in vein as the rear window venetion blind makes them impossible to see from the outside anyway. My plan was to have the speakers sunken into the parcel shelf and then cover the whole thing in a very thin felt material. Thick enough to hide everything, but thin enough for the sound to pierce through.
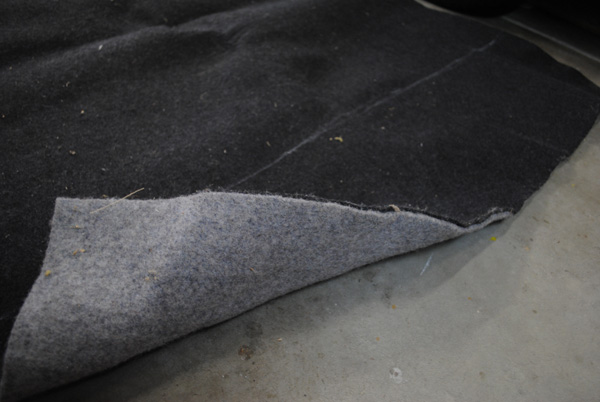
To build up the layers, I used a thick underlay, and then some foam. Again, this is when it pays to have an upholsterer in the family.
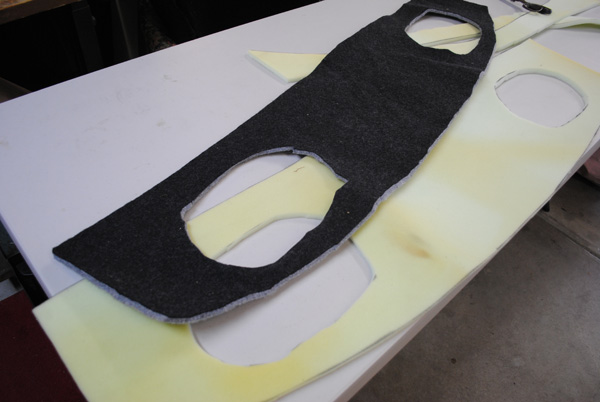
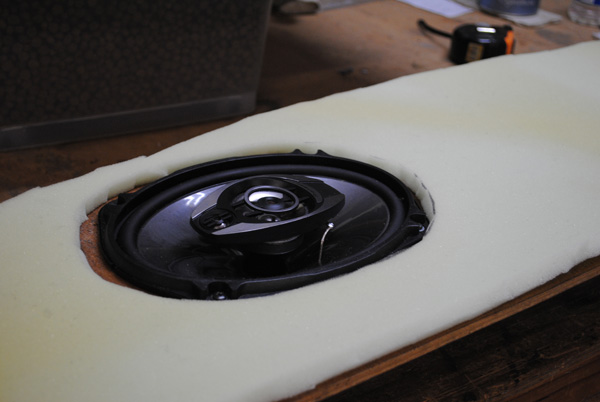
Here is the foam and the underlay, cut to the same shape as the parcel shelf with holes for the speakers. The next two images will explain things more clearly.
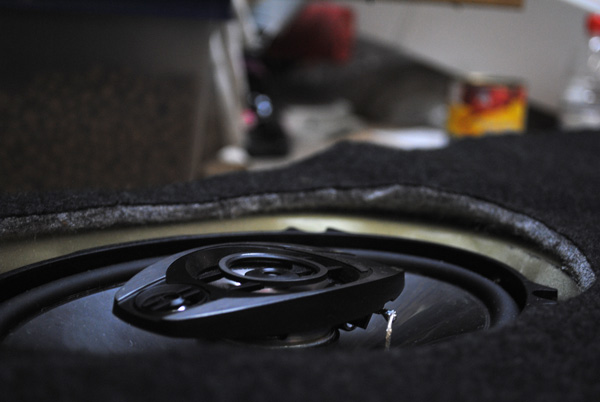
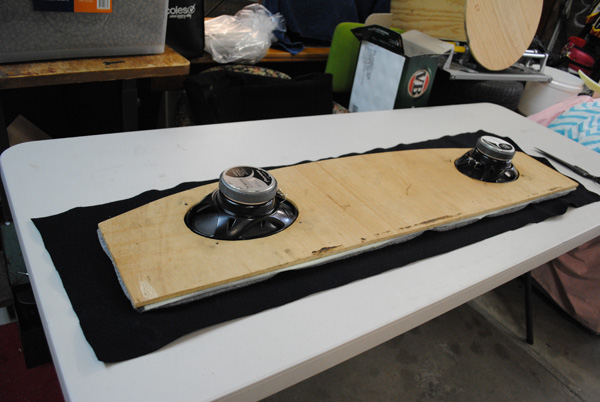
Then the underlay. Make sense now? No? Okay, one more picture should do it…
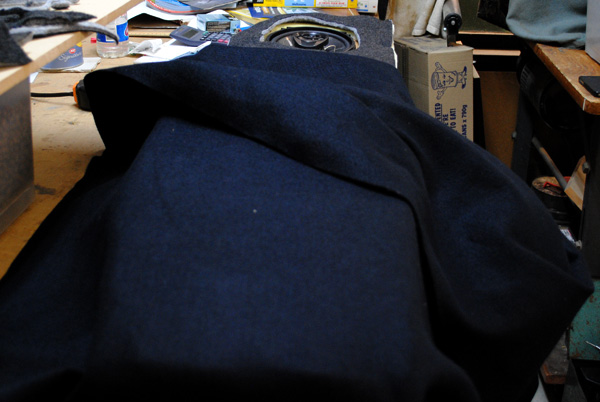
The shelf with the felt draped over it, this should explain my vision.
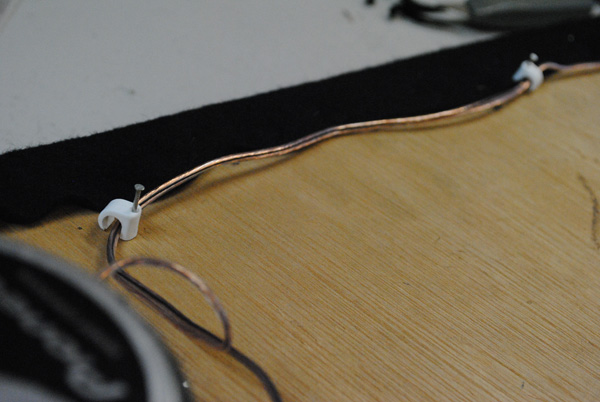
Neatly routing the wires was the final touch.
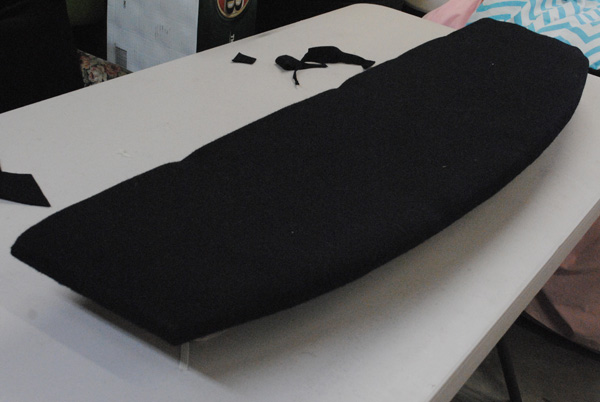
Turned back over, the finished product.
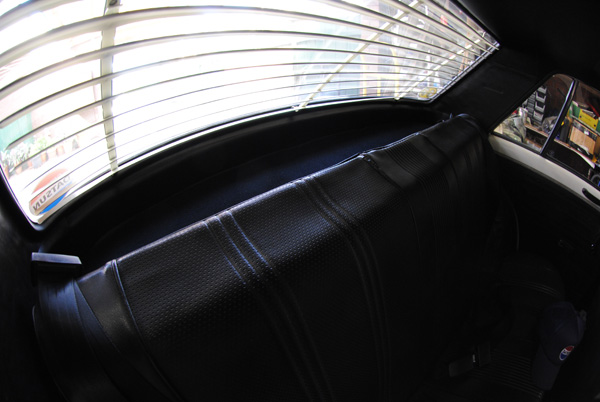
Back in the car, the speakers are nicely hidden.
What other menial tasks have I completed in the past 6 months, I hear you ask. Well, one thing that always annoyed me when I saw the car from a distance was the dirty sill panels (or “rockers” to the American readers). This was never an issue when I see the car in the garage, since I can’t really stand further than a meter or two away from it, but on the rare occasions when the car is actually out in the wild, this dirt and grime would catch my eye, so it was time for a good cleanin’ with some wax & grease remover.
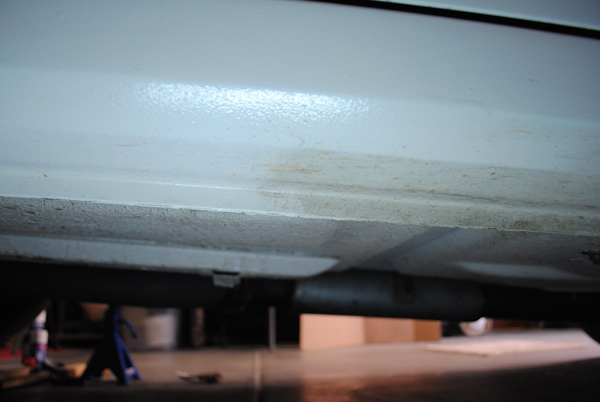
Left: Clean. Right: Dirty. This is that stubborn type of grime that doesn’t come off with a simple wash.
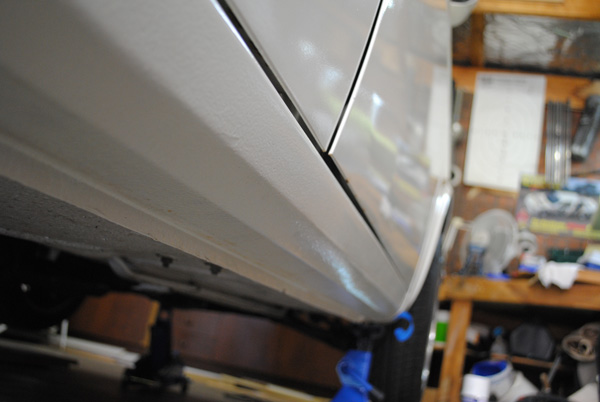
Mmmm…clean. My OCD allowed me to sleep that night.
This brings us to the end of this update (the crowd breathes a sigh of relief), and we actually come full circle to one of the problems I mentioned at the start; veering. I had posted a forum thread detailing the symptoms of my handling problems, and what I had replaced and rectified so far. One person recommended checking my bump-stops to see if they are of equal height. The theory was that if one was actually taller than the other and the suspension bottoms out, it might upset the balance of the car and cause it to drive untrue. The rear bumpstops are not built into the rear coilovers, they are actually standalone units which are bolted to the lower A-arm. So one day I lied down on the ground beside the car, drivers side first, and tried to squeeze my hand between the A-arm and said bumpstop. But before I could get my hand to that specific area, it brushed passed something and made a noise, a loose metal noise…
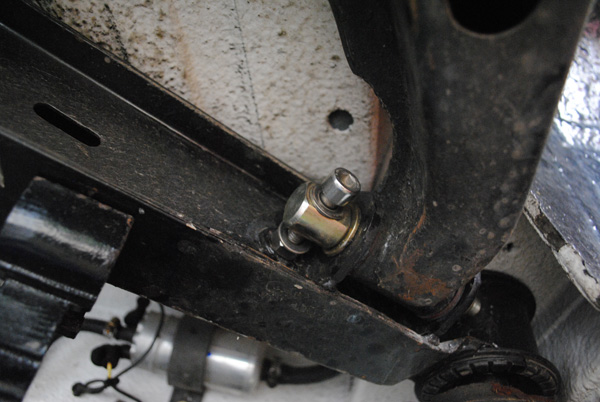
…you know, like the noise a loose bolt and pair of washers make, the ones that hold half of your A-arm to the crossmember! Somewhere between installing the adjustable rear crossmember 2 years ago and now, this single bolt has worked its way loose. This bolt is responsible for controlling the caster of the drivers side rear wheel, so being loose it was moving around under load and changing the alignment on the fly, hence the veering. I tightened it up, took the car for a test drive, and all my previous thoughts of complicated fixes and dollar signs were washed away in an instant. After a proper alignment, I finally had my car back, and it felt great.
.


Wow do work!
Enjoyed the post quite a bit 🙂
Great read Anth! Love the datto updates. Don’t let 6 months go by again before the next.
you could apply threadlock on that bolt and the other bolts as well…great follow up
Looks good. I have that same head unit, so I hope I’m right when I say that your trim ring is upside down. 😛
the old caster arm bushes look like Noltec ones, going by the light blue colour, the Super Pro ones should last a lot longer.
Hi there from Belgium, enjoyed the post ( the whole site as well) very much.
Just a small tip regarding parcel shelves and speaker holes:
I noticed you didn’t put anything between the speaker and the cloth covering the parcel shelf, so you may experience some sagging of said cloth once the speakers have been in for a while.
Speaking from experience, putting some flyscreen cloth in between and tightly glueing / tacking (when using a wooden parcel shelf) it will solve the sagging issue for many years to come.
That said, keep posting stuff and feeding my build thread addiction 😉
The flyscreen cloth is a great idea, I’ll have to update the shelf if the cloth starts to sag, thanks!
hey anth, what do you think of this? what should i bid?
http://cgi.ebay.com/ebaymotors/ws/eBayISAPI.dll?ViewItem&item=220802419037&viewitem=&sspagename=STRK%3AMEWAX%3AIT
Looks like a very fun car! I’m not sure what it’s worth though, you’d have better feedback asking on a US Datsun forum like Ratsun or The510Realm. Good luck!