Wheel gap is bad…
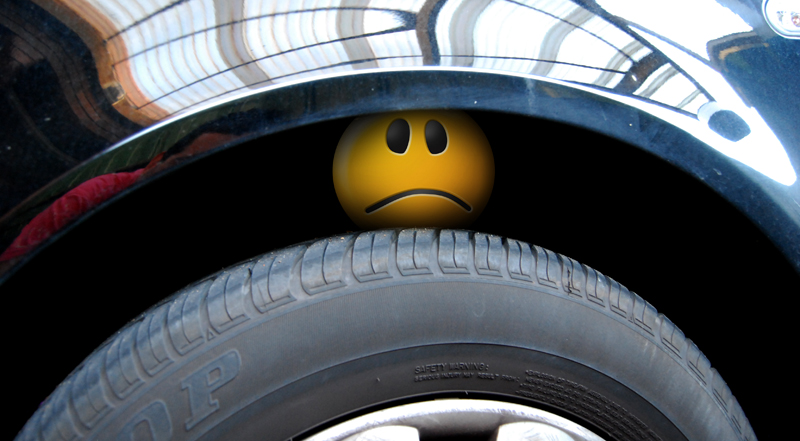
Time to get the Golf’s suspension sorted! After browsing around VW Watercooled researching my options, I seemed to keep being pointed into the direction of one person, Robin. Robin is the Australian distributor of HotTuning Coilovers, and the more I looked into it, the more I thought that these would be perfectly suited to my application. The Golf is soley my daily driver, and will never see a racetrack, so I was after something street-friendly at a reasonable price that would still enable me to enjoy the odd twisty road. My main goal was height adjustability, as I’ve given up on spring/shock combo a long time ago after never being able to get my old cars to sit at the height I wanted.
Once I contacted Robin, he was a huge help and answered all of my annoying questions without hesitation. This was especially appreciated as my knowledge of VW’s is not as advanced as say, Nissans. Here’s a run-down on the coilovers from the manufacturer:
Coilover Specifications:
HOTTUNING coilovers can be raised or lowered, from 20mm to 120mm. All coilover systems include high grade aluminum pillow mounts further enhancing overall control. CNC Wound SAE 9254 Racing Springs are used which were found to be the longest lasting spring on the market that showed no tendencies to sag. Spring and damper rates that yield exceptional handling characteristics coupled with unsurpassed street drivability are used. Extensive Research And Development Went In To Choosing Precisely Matched Spring & Damper Rates Specific To Each Application. The Result Is Outstanding Ride Quality & Incredible Handling CharacteristicsSo whether you are looking for a great track set up or you need a suspension that adapts to public roads, you have found the right coilover. HOTTUNING , Designed and manufactured for customers who demand the very best!
Summary:
* Superb Overall Control.
* Height can be adjusted without affecting shock stroke length.
* Both Track Abuse As Well As Road Imperfections.
* CNC Wound SAE 9254 Super High Quality Springs.
* Kit includes: 2 front full coilovers, 2 rear full coilovers.
* Sport setup (F=12K – 672 ft/lbs & R=18K 1008 ft/lbs)2 Year manufacturers warranty
The best part was when I found out the price was only $800 AUD delivered thanks to our strong dollar at the moment (compared to last year at the time of the economic crash). I also opted to purchase the swaybar drop-links that are also available, as I knew I’d run into clearance problems after lowering the front end. Just as my luck would have it, they’ve now been reduced to $750 INCLUDING drop links until the end of December. Oh well, you win some, you lose some.
So a few day’s after making my purchase, I had another nice package turn up at work. I waited until I had a free Saturday to install everything.

Here is all the goodies on show. Front coilovers, drop-links, c-spanner, rear perches, rear springs, and rear shocks.

Before installing everything, I thought it would be a good idea to add some sort of protection to the collars, to try to combat the dirt & general under-car conditions that they’ll be faced with. I went to my local hardware store and picked up a grease-based lubricating spray.
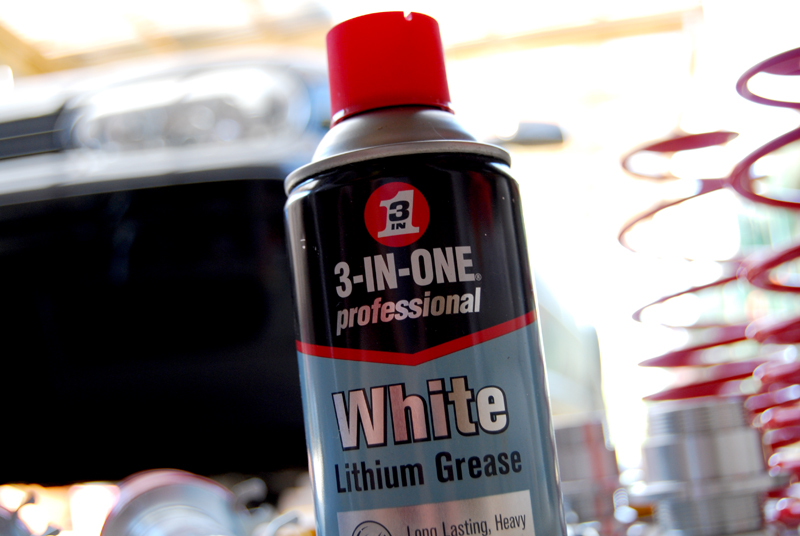
I dismantled everything and sprayed all 4 collars, hopefully this will make it easier to adjust them after they’ve been exposed to the elements.

Time to get this party started I guess. I used this write-up as a guide and found it very helpful. I didn’t take pictures every step of the way for two reasons, firstly that write-up has all the pictures you need, and secondly it was a stinking hot day, I had hay-fever, and the beginning of the job was a pain to do.
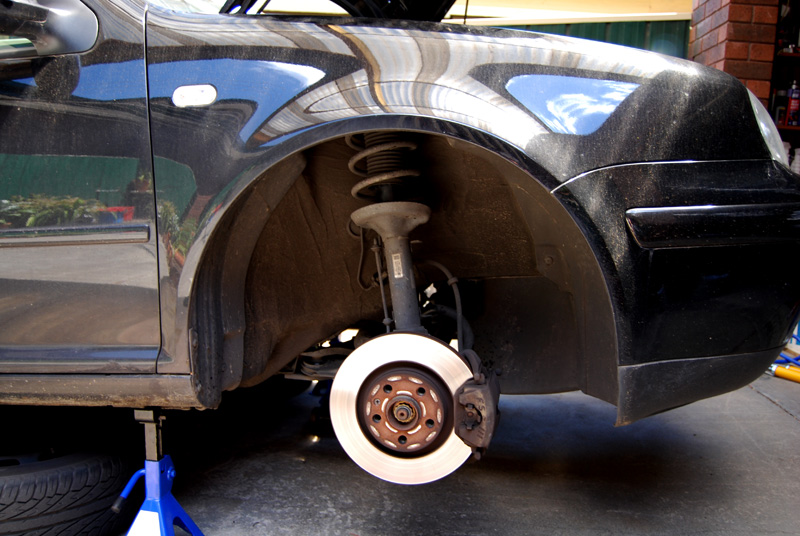
Front standard suspension. This side was a real pain to remove, make sure you have spring compressors and a big hammer, as the strut assembly is too long to remove otherwise. Once I got past this strut, the rest was fairly easy in comparison.
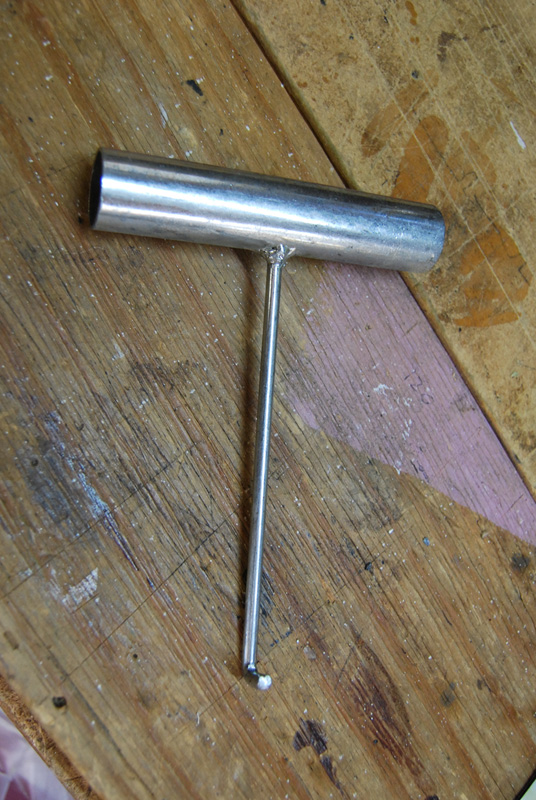
This is what I used as the spreader tool to open up the strut assembly away from where it sits inside the LCA. It’s actually an assembly tool from a trampoline set!
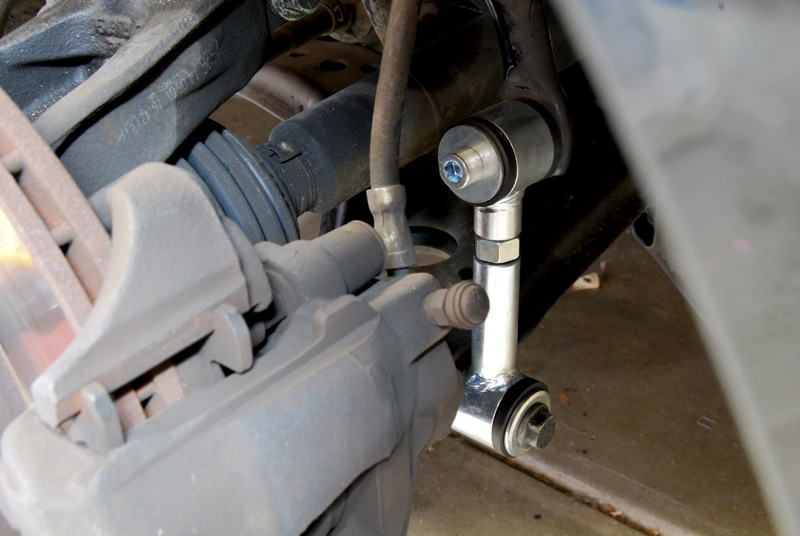
Adjustable drop-links installed
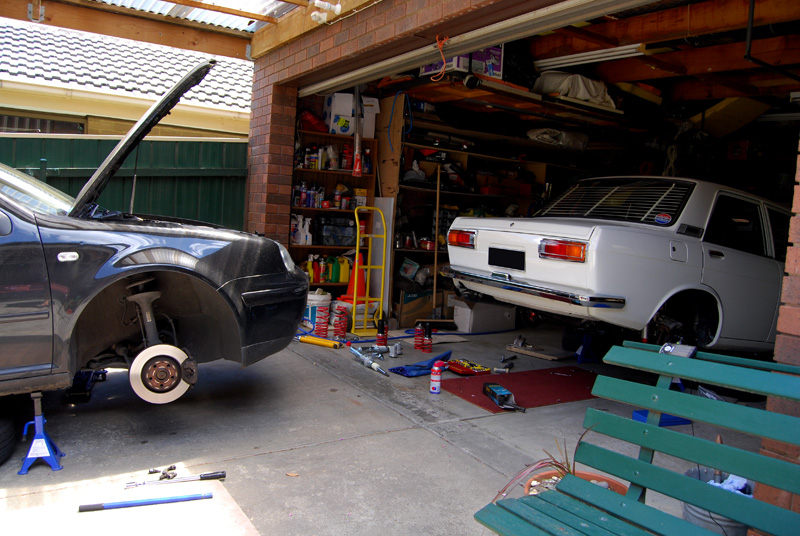
Now’s probably a good time to work out how the hell you’re going to get to work on Monday, and ask yourself if it’s really a good idea to have two potentially useless cars if things don’t go to plan.
Fronts installed

Time to attack the other end…

All done…(if only it was that easy in real life)

The finished product…

“It’s not low!” I hear you say. Well, yeah, I have no interest in having a car slammed on stock wheels and hubcaps, it just doesn’t do it for me, so I’ll be waiting until I get the wheels before it gets closer to mother earth.
After driving around for few km’s, I noticed something wasn’t right. I had a loud knocking sound coming from the drivers side suspension, which would get worse as the size of the bumps on the road increased, it was really nasty. I jumped straight back on VW Watercooled and started asking questions. The resounding answer was that my strut bushes & bearings were probably stuffed, and should have been replaced when I installed the coilovers. “Snowy” was kind enough to spoon-feed me all the information I needed, sending me a link that took me straight to the required products available in a package from ECS Tuning.
A week or so later, and I was ready to go…

The kit comes with a pair of new strut bushes, bearings, and top nuts.
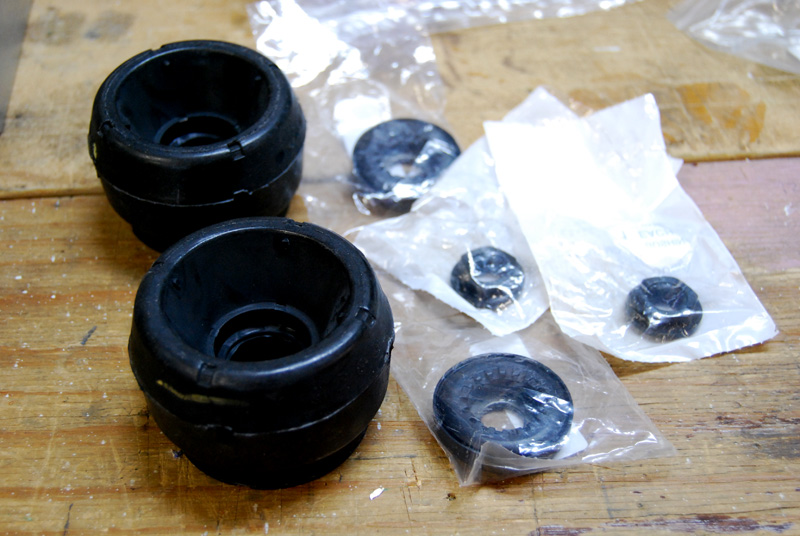
Old vs New, you can see how they deteriorate over time and end up squashed

Here you can see how the shaft is not centered within the strut mount, and is leaning towards the centre of the car.
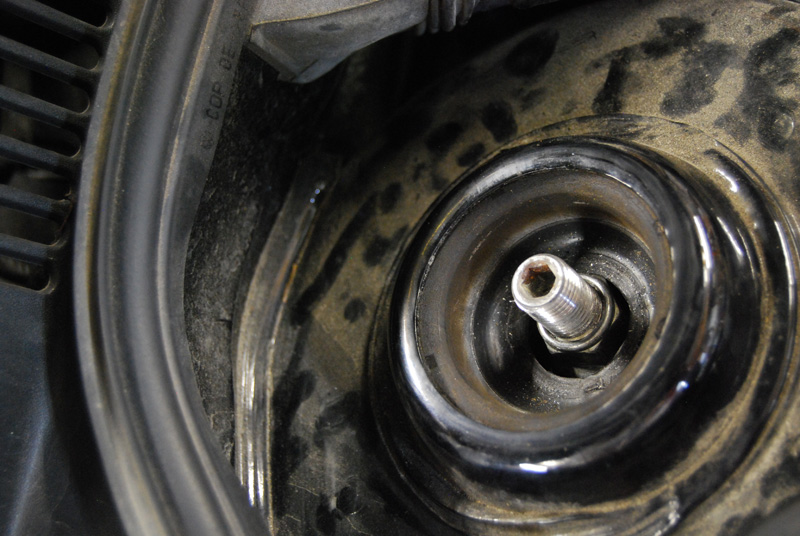
Here it is after the new mounts were installed, nice and centered…

Another by-product of the new bushes is that it removed the majority of the gap between the upper strut tops and the strut towers in the engine bay. This is a common side-effect when lowering these cars, and for the most part it is generally accepted as ‘one of those things’.
This is the gap with the old bushing…
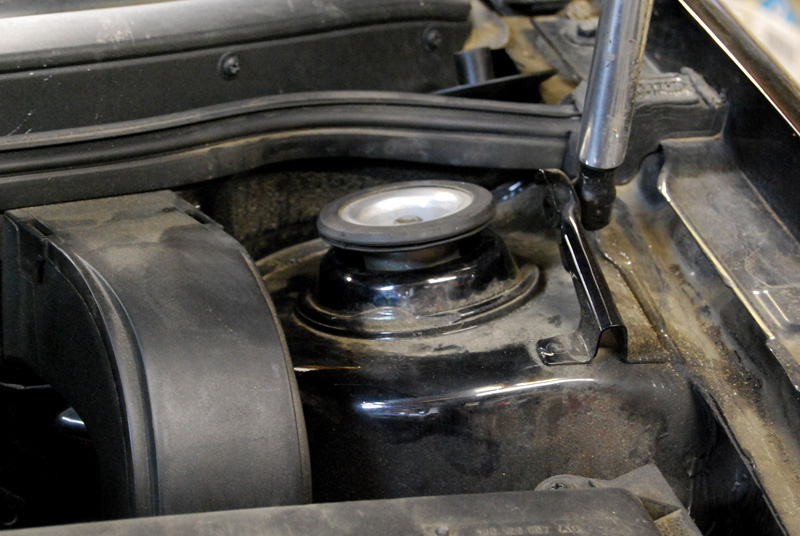
And this is how much it’s reduced when the new one is fitted…

So after all that, the car was fixed and riding smooth. I found the HotTuning coilovers to be very comfortable for street driving, if only a tad bouncy, but that is to be expected from any sports suspension set up. Keep in mind though, to get the car to sit at an almost factory ride height, the collars are wound up quite high and subsequently the springs are a bit pre-loaded. They also eliminated a lot of body roll and made the car actually fun to drive, exactly what I wanted.
Once the wheels & tyres roll in, I’ll be attacking the collars with the c-spanner to get this thing looking decent!
Thanks again to Robin @ HotTuning and the members of VW Watercooled for all their help.


Never stop learnin’…